Sales
Overview
- Adding Invoice
- Confirming Invoice
- Disconfirming Invoice
- Editing Invoice
- Deleting Invoice
- Record a payment on an invoice
- Finalizing Invoice
- Printing an Invoice
- Export invoice to Excel
- Printing the payment receipt
- Adding Receipt
- Confirming Receipt
- Receipt printing
- Deleting Receipt
There are two types of sales documents in Susan.one: invoices and receipts. While an invoice is a request for payment, a receipt is the proof of payment. Most companies use a combination of receipts and invoices to record transactions for themselves and their customers.
Invoice
To review the list of invoices, navigate to Sales > Invoices. Once there, you’ll see a list view of all invoices.
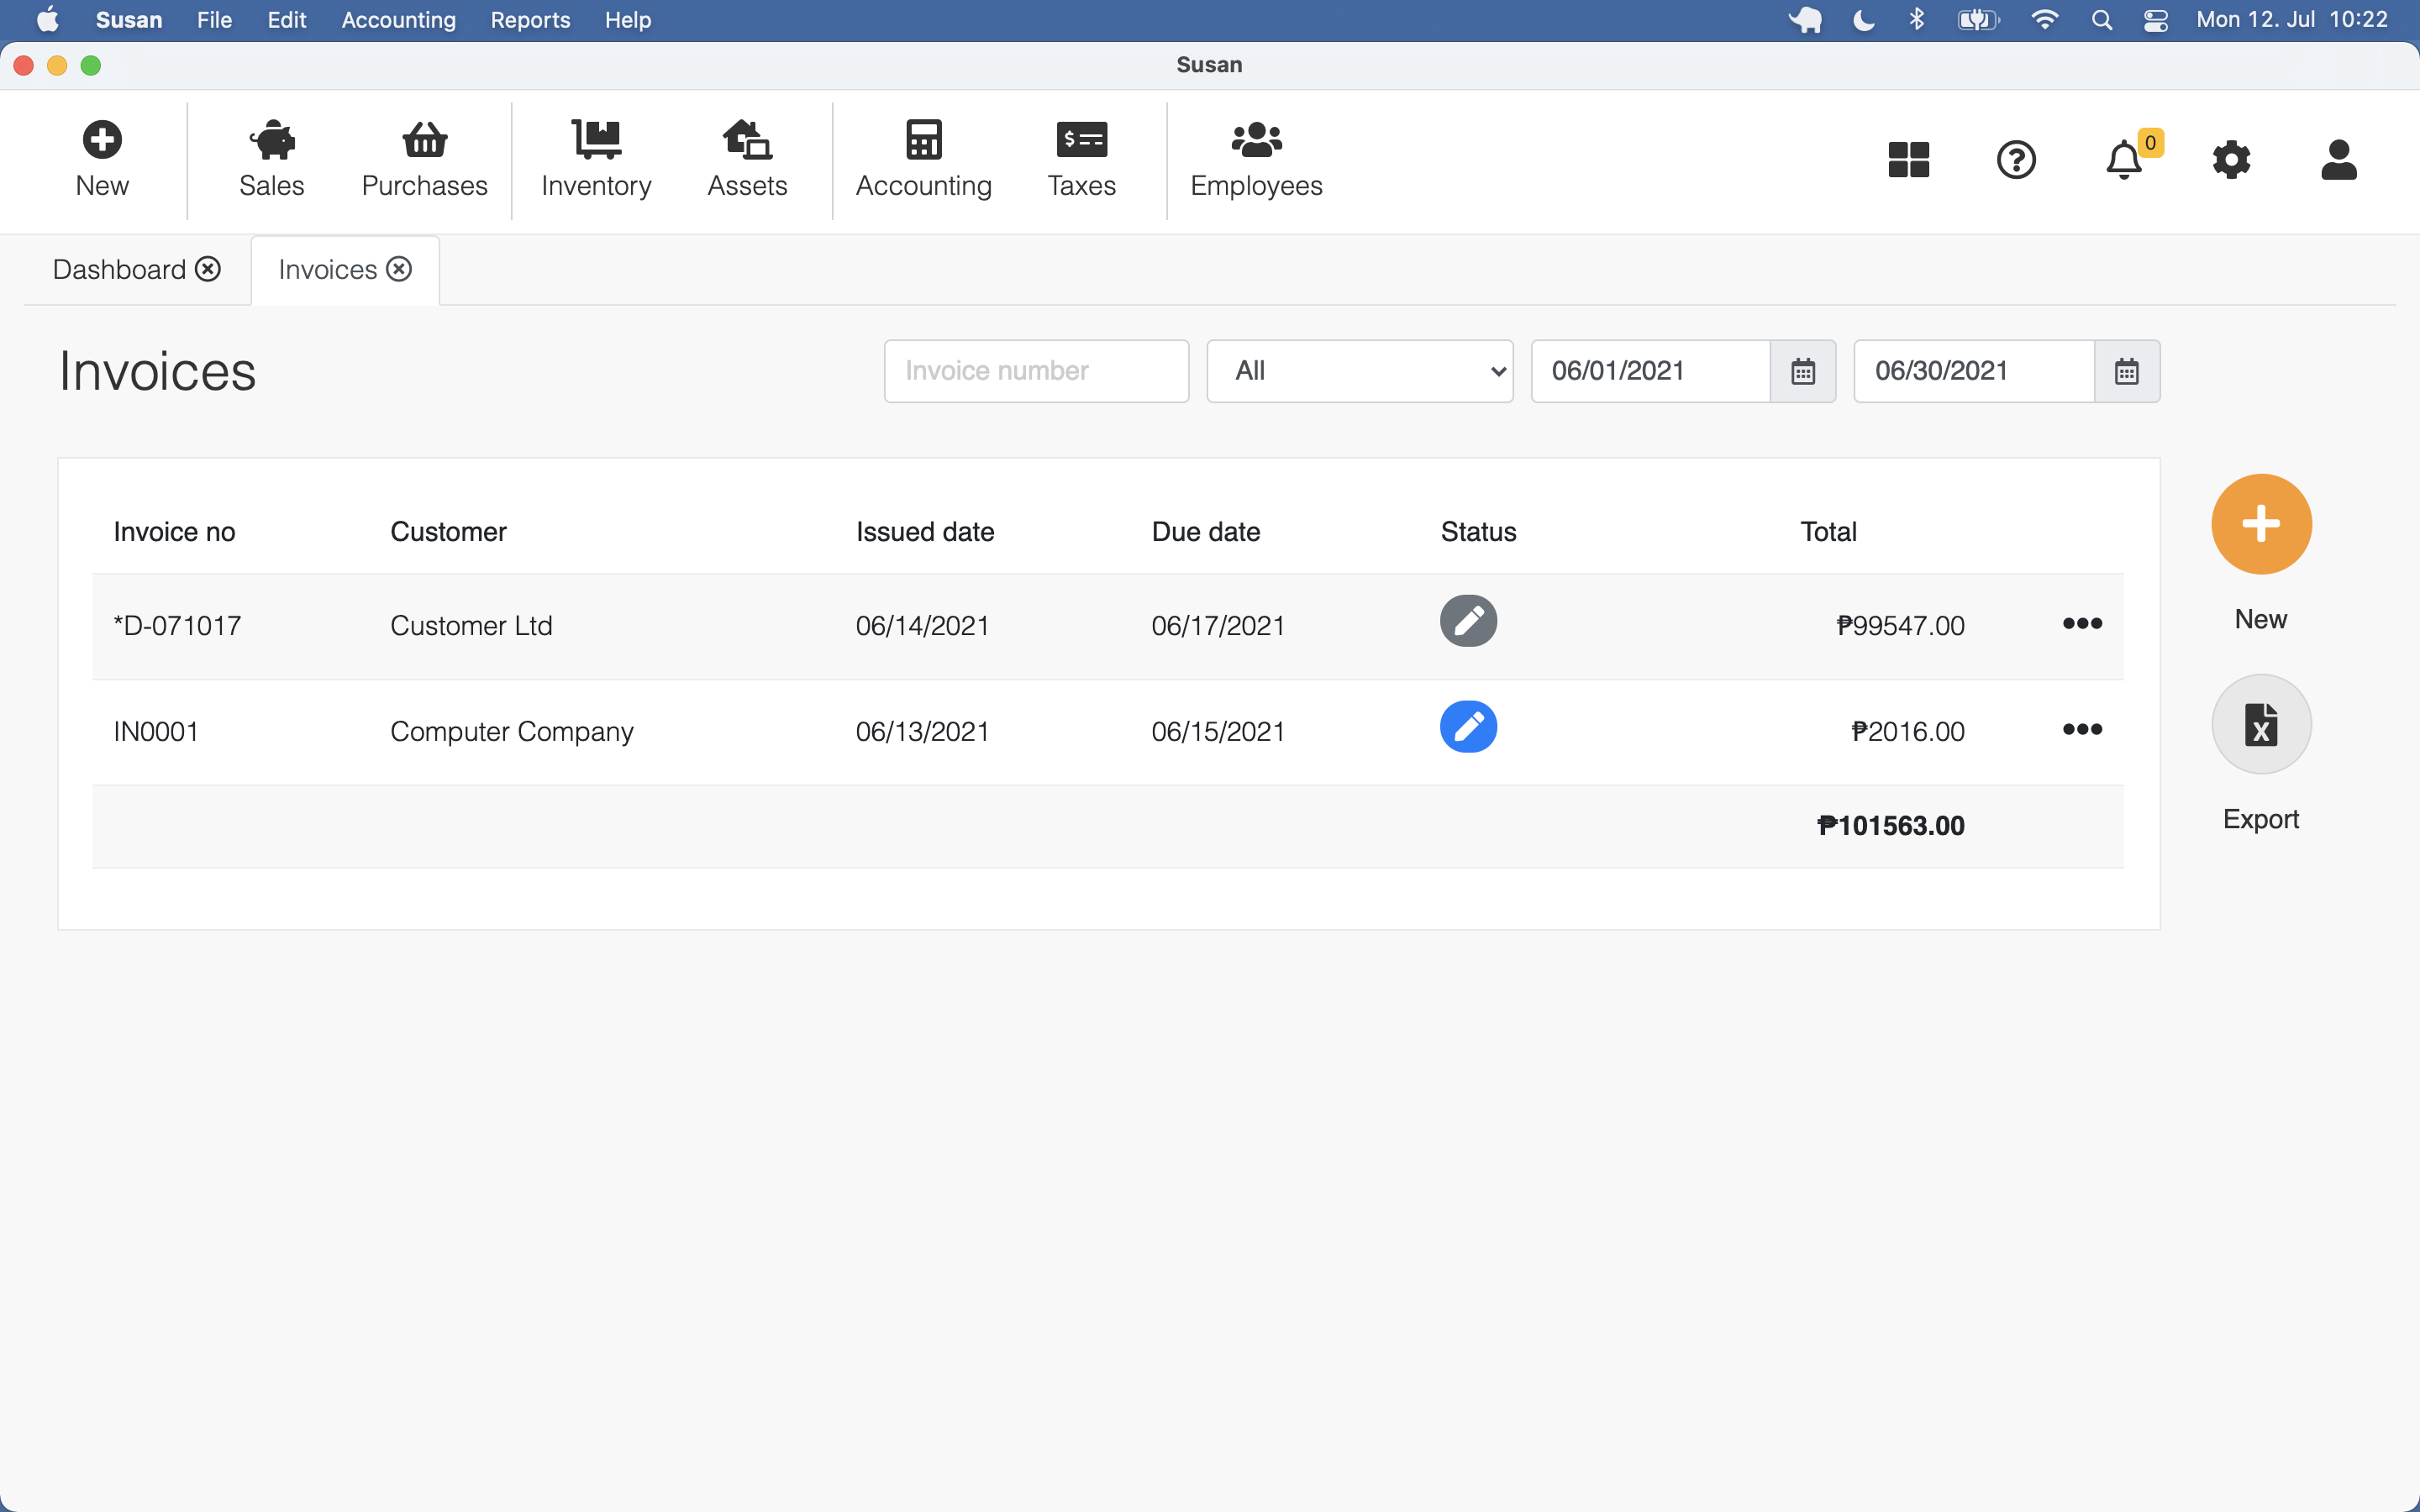
You can filter invoices by status or date range or search by the document number
Adding Invoice
To add a invoice, follow these steps:
- Open the invoices list
- Click New
- Fill the document
- Click Save
Detailed information on invoice item can be found by clicking on the arrow icon at the end of the row
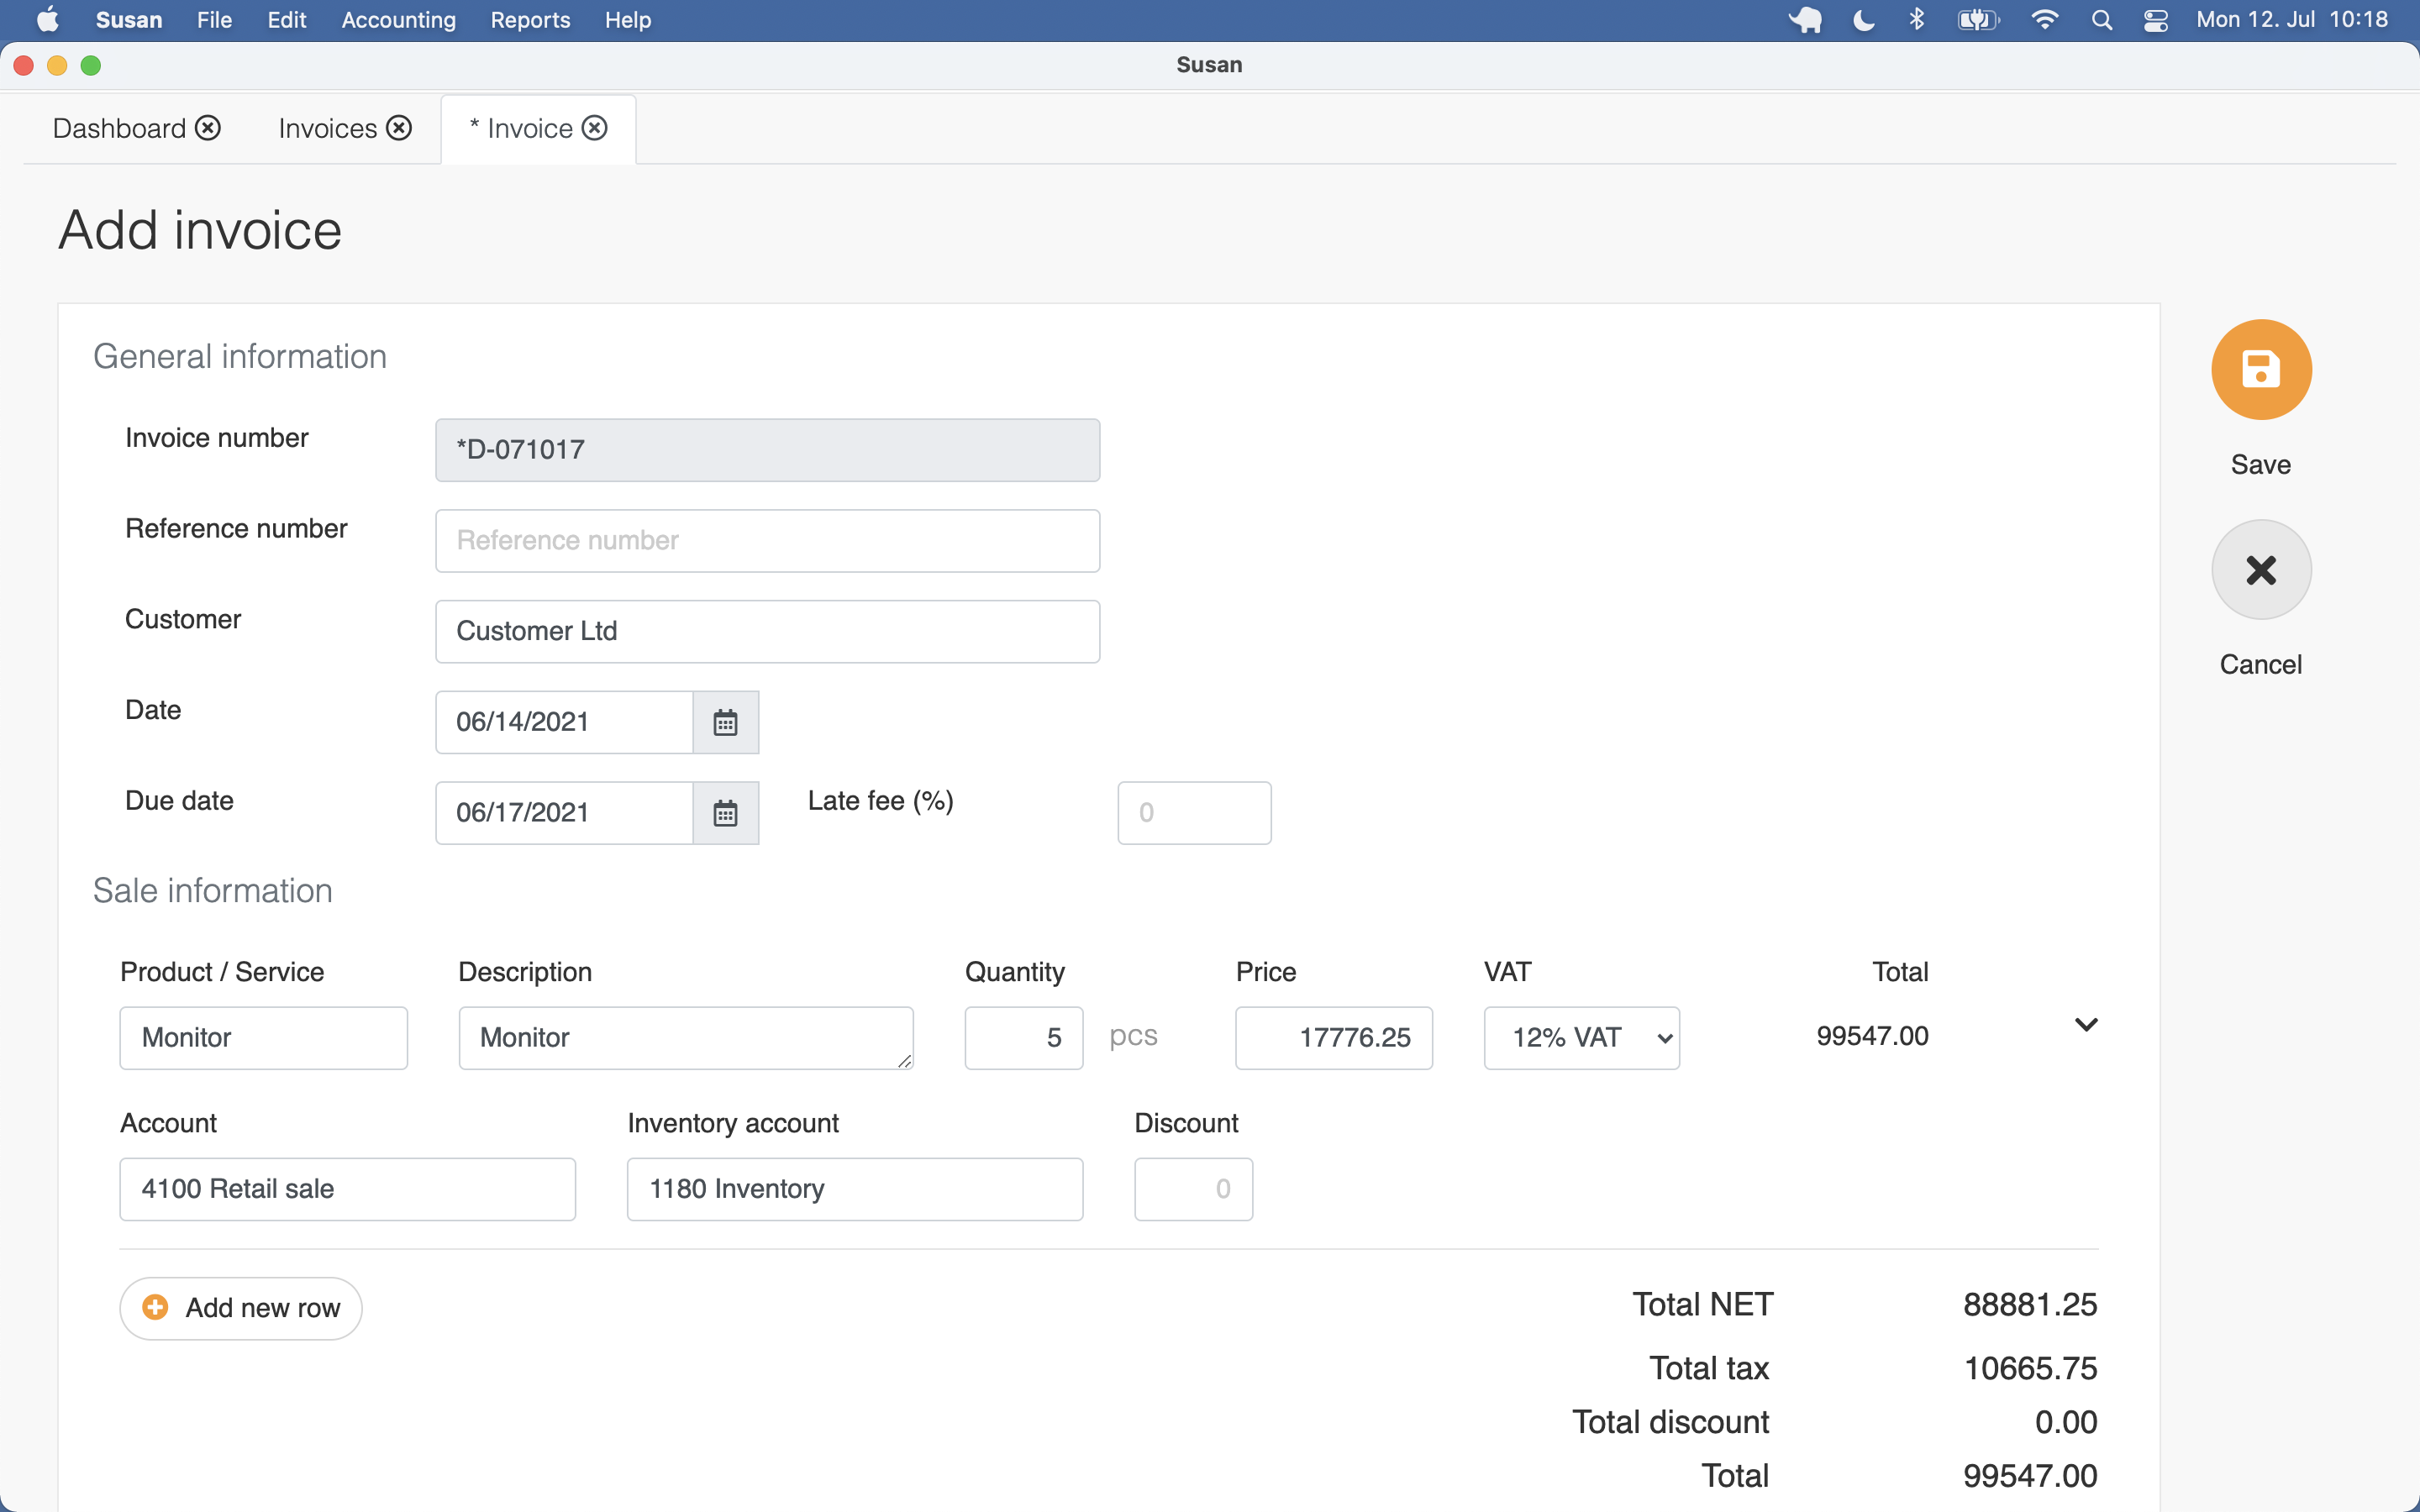
The document receives a number generated by the system and will be saved in Draft status
Confirming Invoice
To confirm the invoice, follow these steps:
- Open the invoices list and click on the invoice
- Click Confirm
- Click Confirm in confirmation dialog
By confirming the document, it will get the status the Open and a journal entry is be created
After confirmation, the document will get a number from the number sequence service.
Disconfirming Invoice
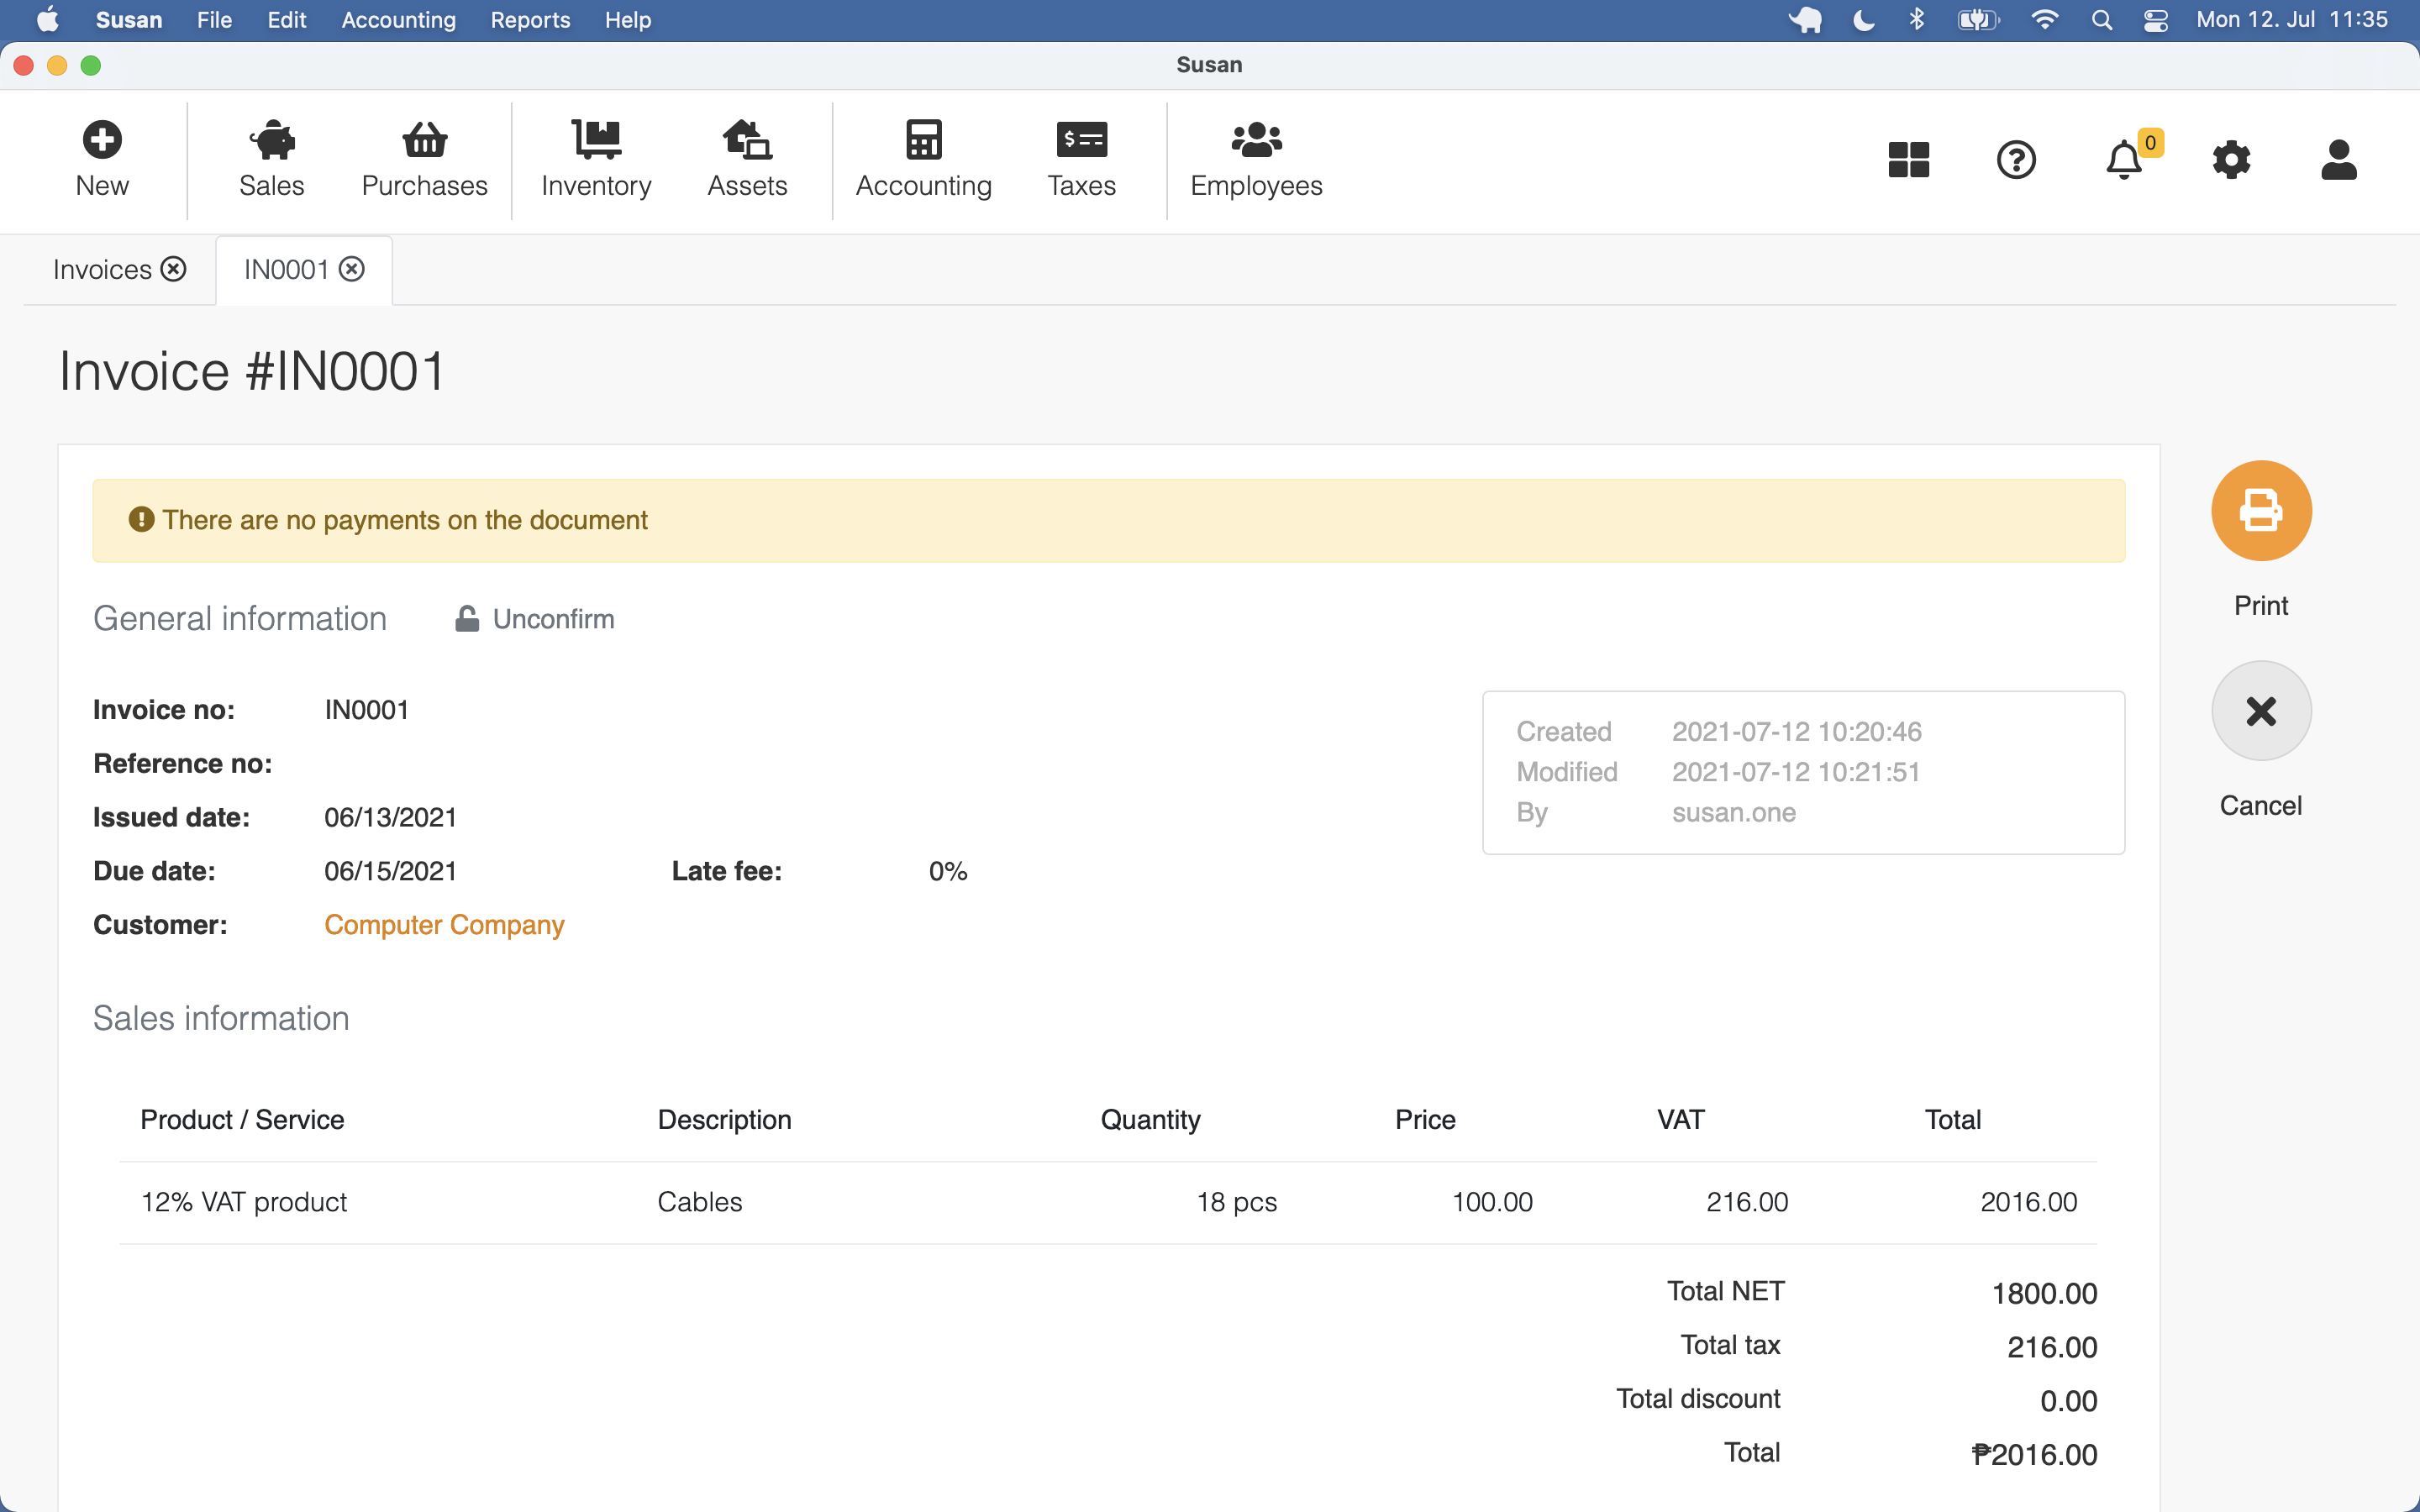
When the invoice is confirmed, you can disconfirm it when really needed. To disconfirm the invoice, follow these steps:
- Open the invoices list and click on the invoice
- Click Unconfirm
- Click Confirm in confirmation dialog
Editing Invoice
To edit the invoice, follow these steps:
- Open the invoices list and click on the invoice
- Change invoice data
- Click Save
Only invoices in Draft status can be edited
Deleting Invoice
To delete the invoice, follow these steps:
- Open the invoices list and click on the invoice
- Click Delete
- Click Confirm in confirmation dialog
Only invoices in Draft status can be deleted
Record a payment on an invoice
To record an invoice as partially or fully paid, follow these steps:
- Open the invoices list and click on the invoice in Open status
- Select payment method, payment date and insert the payment amount
- Click Save payments
You can use multiple payment methods
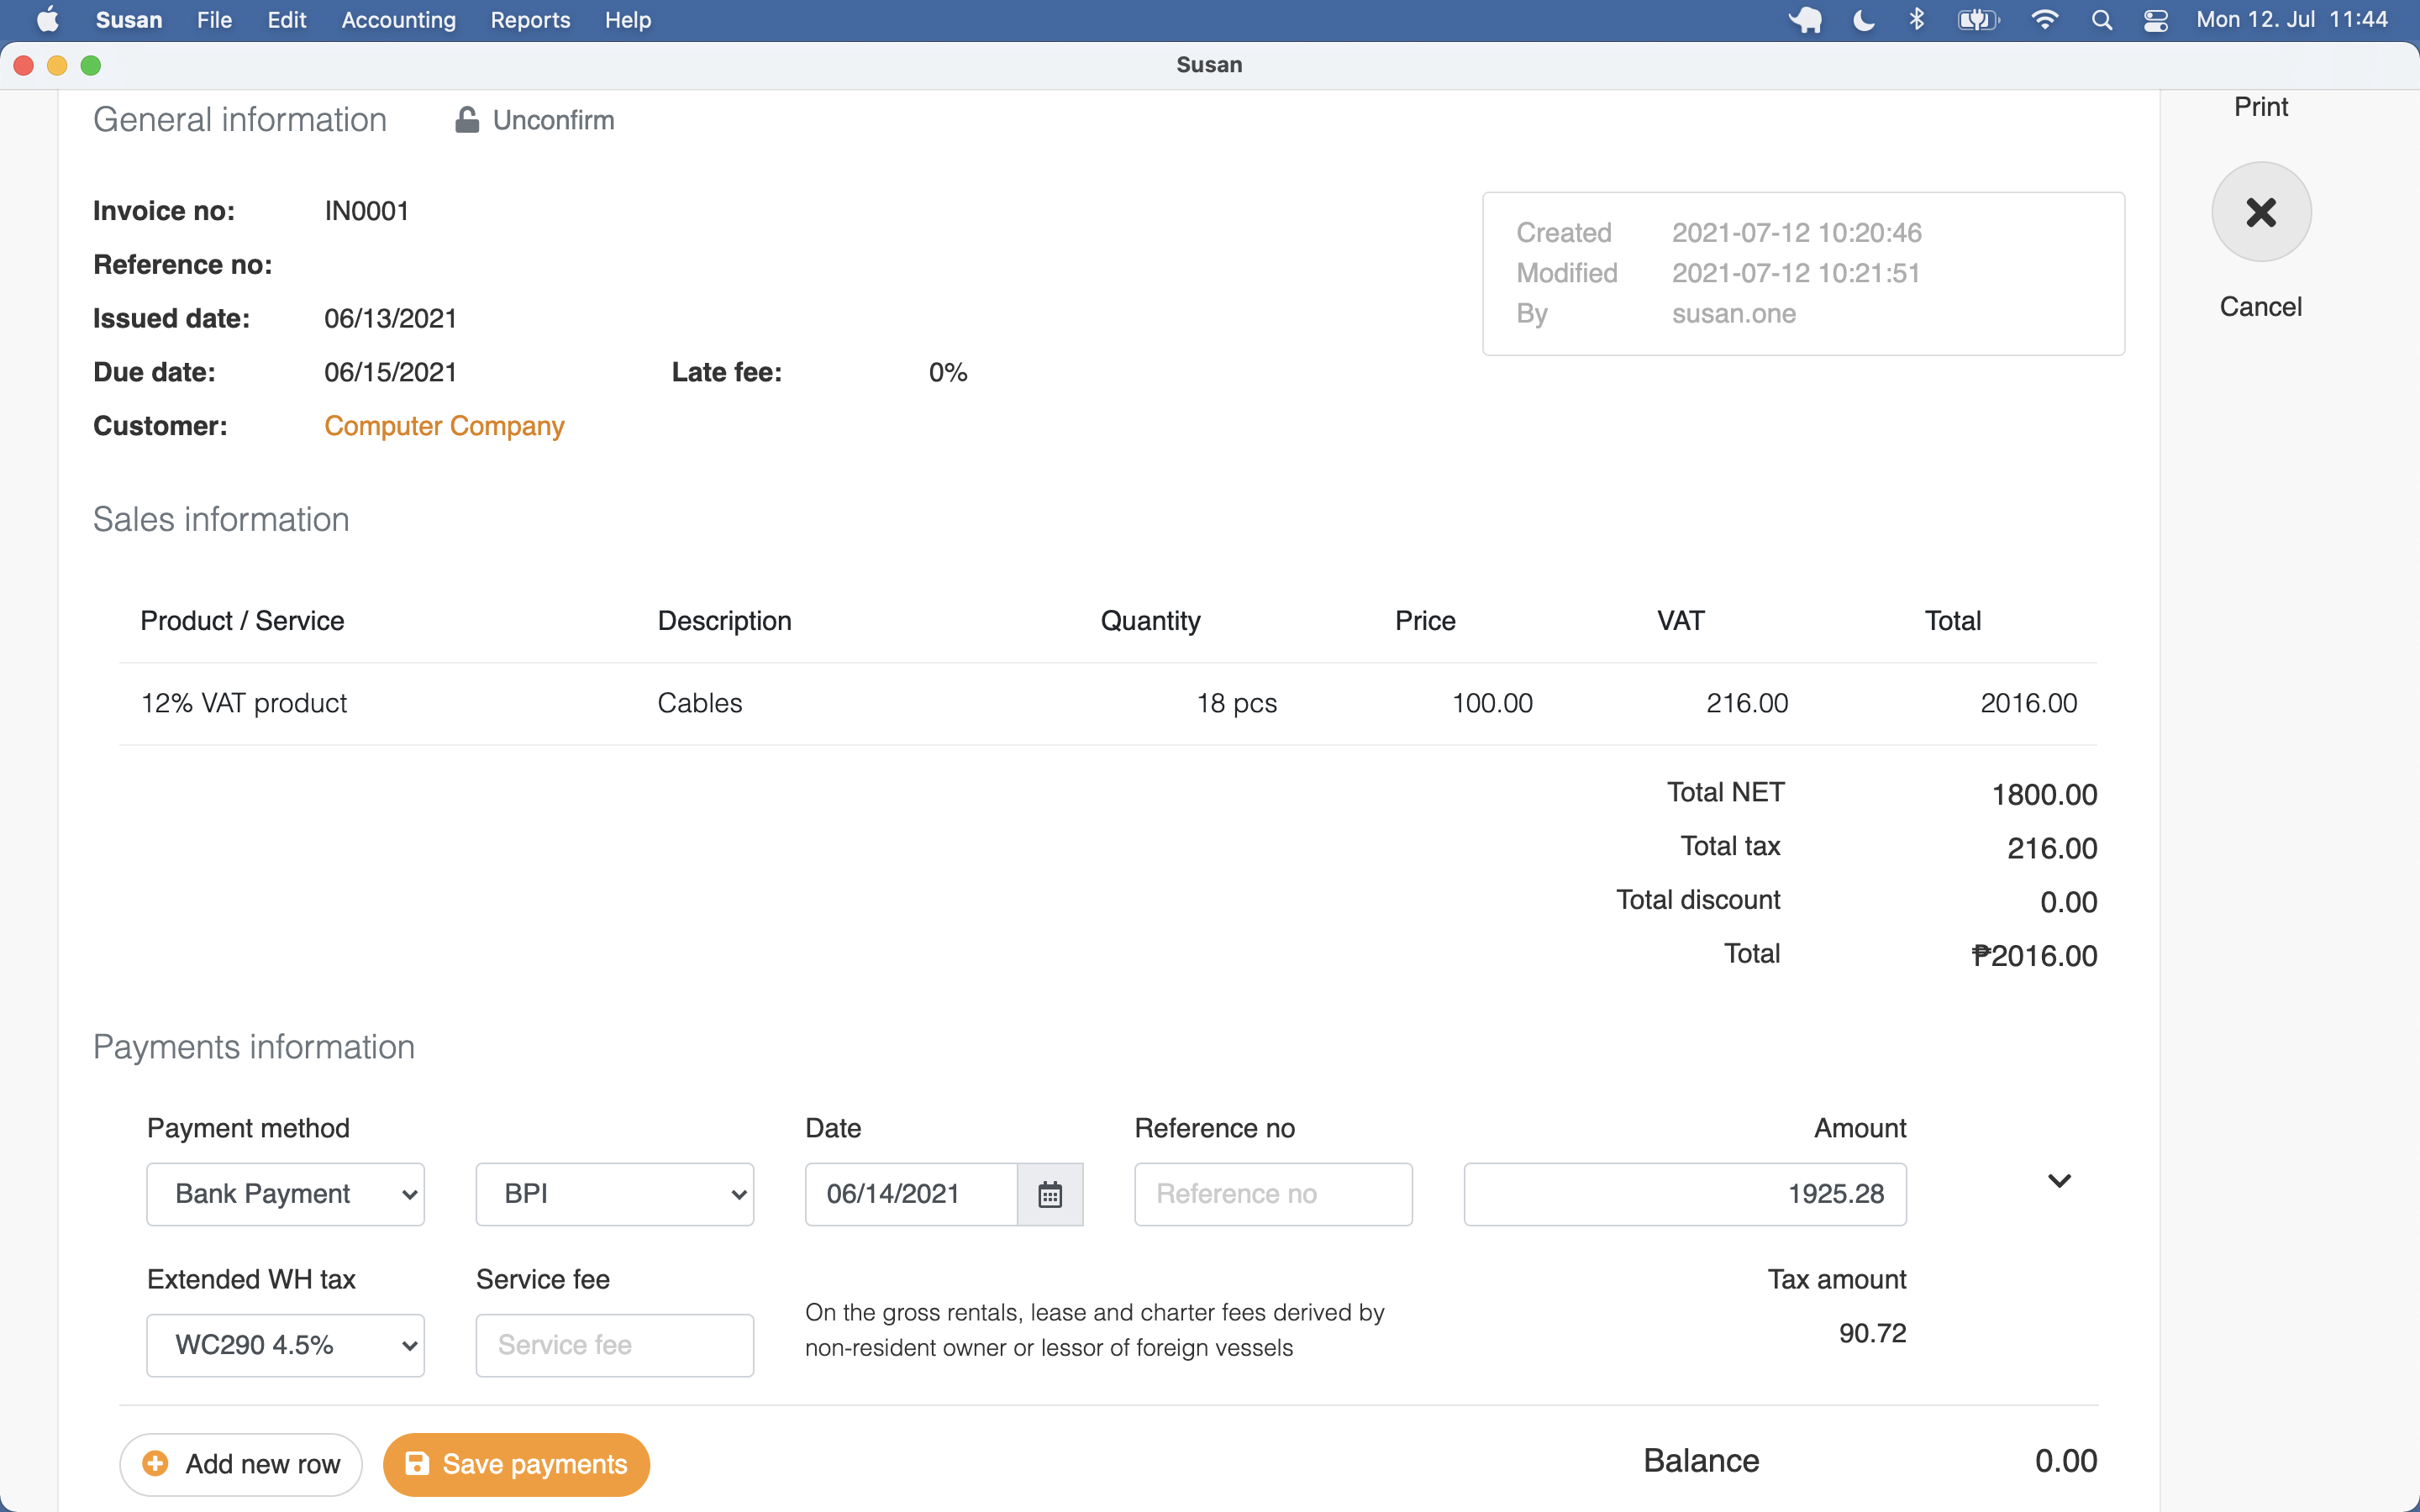
Country-based or less important payment details are available by clicking the arrow icon at the end of the row
Once the invoice has been paid in full, it can be marked as paid.
Finalizing Invoice
Finalizing is the procedure for a invoice when the document is paid in full. To finalize the invoice, follow these steps:
- Open the invoices list and click on the invoice paid in full
- Click Confirm
- Click Confirm in confirmation dialog
By finalizing the document, payments will be confirmed and a journal entry is created
Printing an Invoice
To print the invoice, follow these steps:
- Open the invoices list and click on the invoice
- Click Print
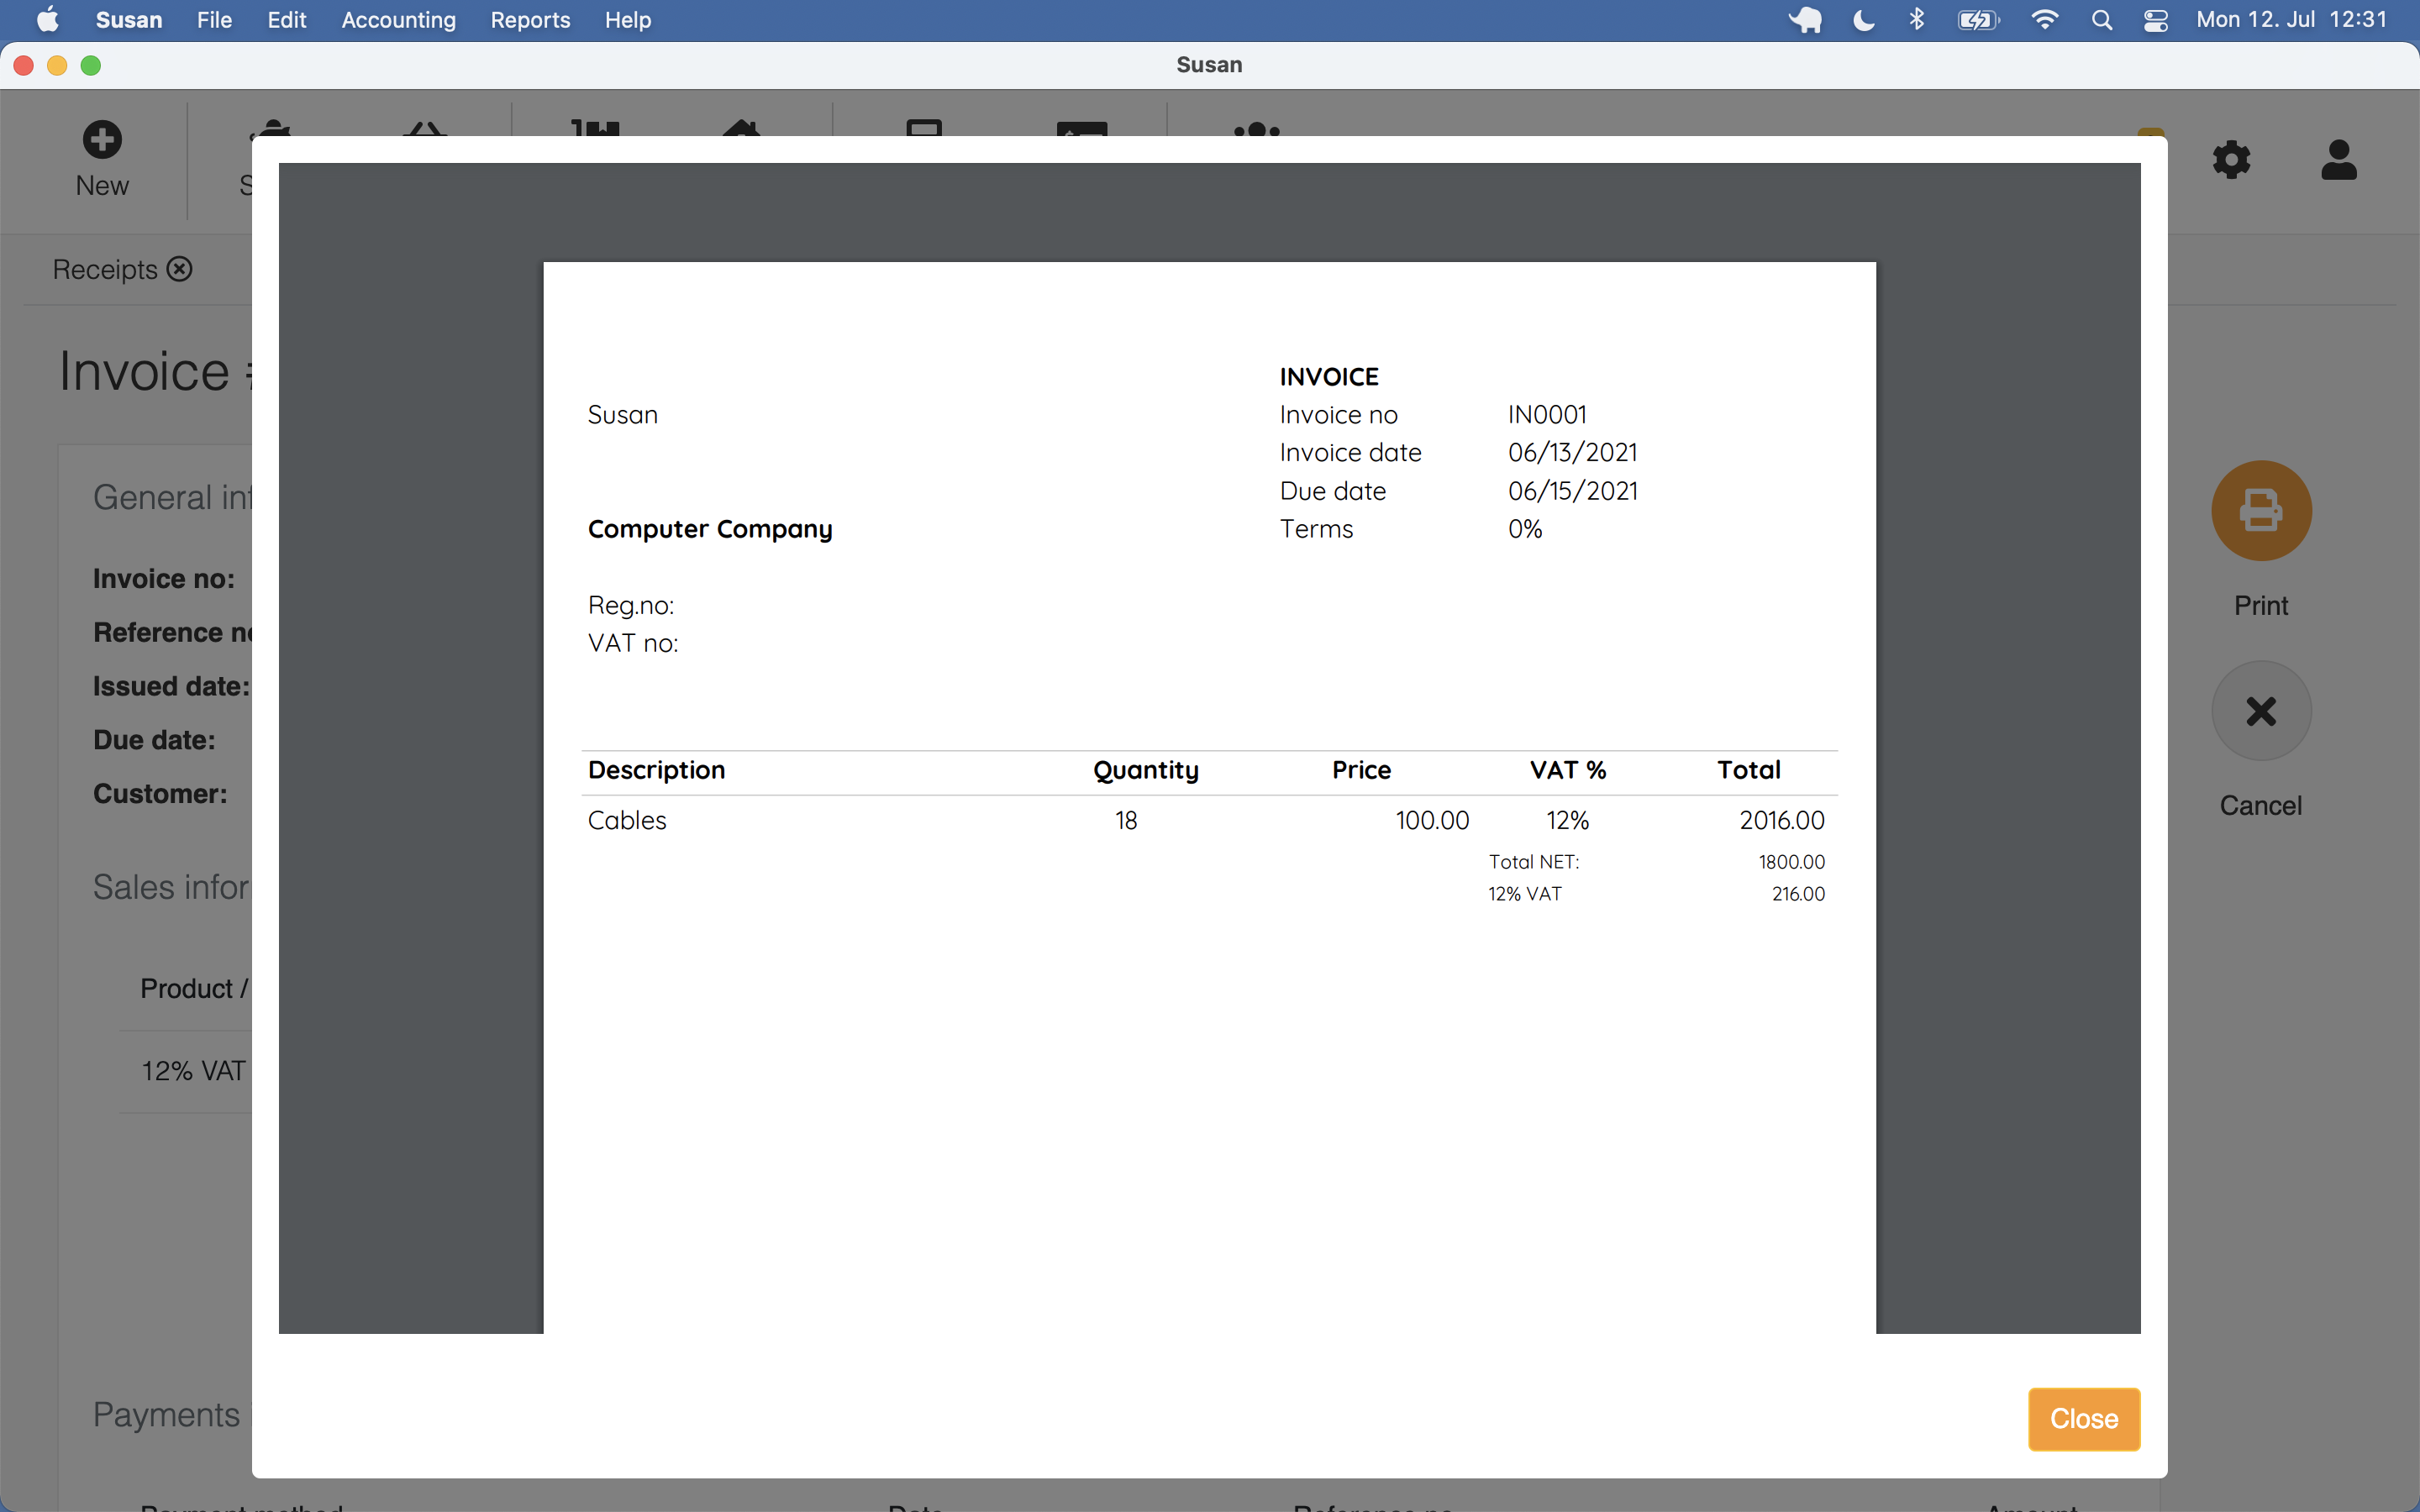
Download document in PDF file format or print it
Export invoice to Excel
To export invoice to Excel, follow these steps:
- Open the invoices list and click on the invoice
- Open Actions menu
- Click Export to XLS
Excel file includes invoice and payments data.
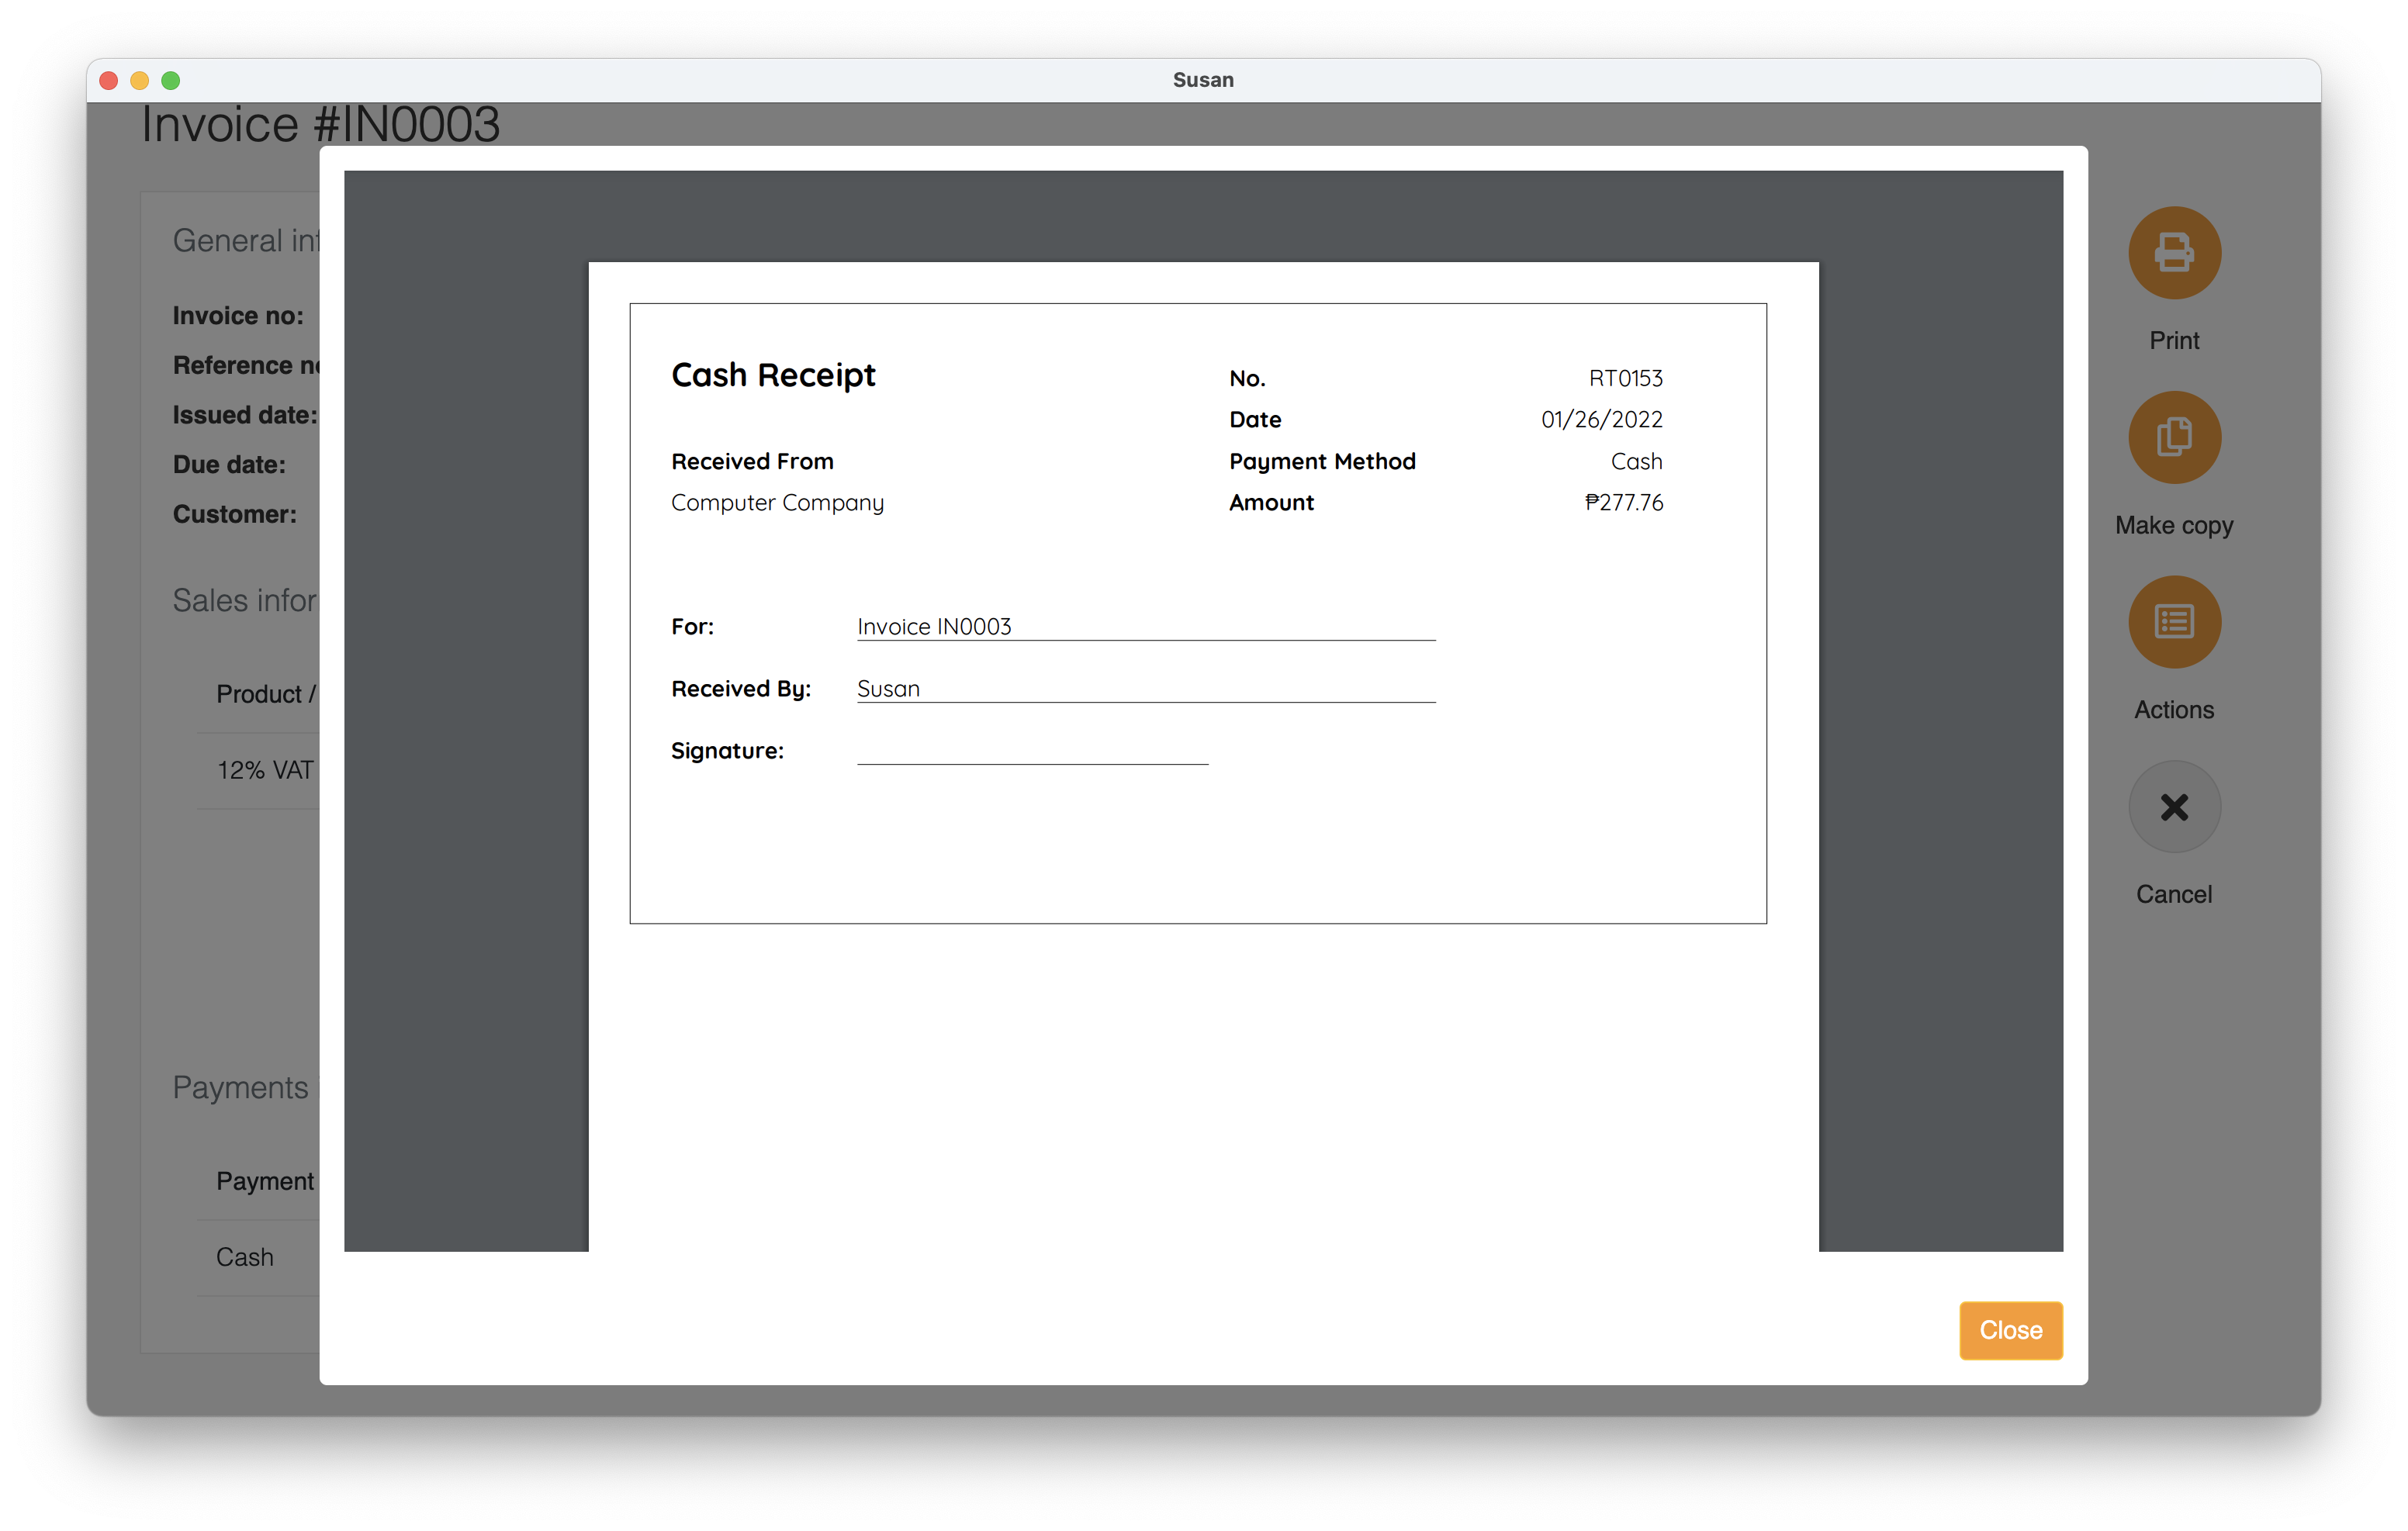
Printing the payment receipt
To print payment receipt, follow these steps:
- Open the invoices list and click on the invoice
- Click on printer icon at the end of the payment
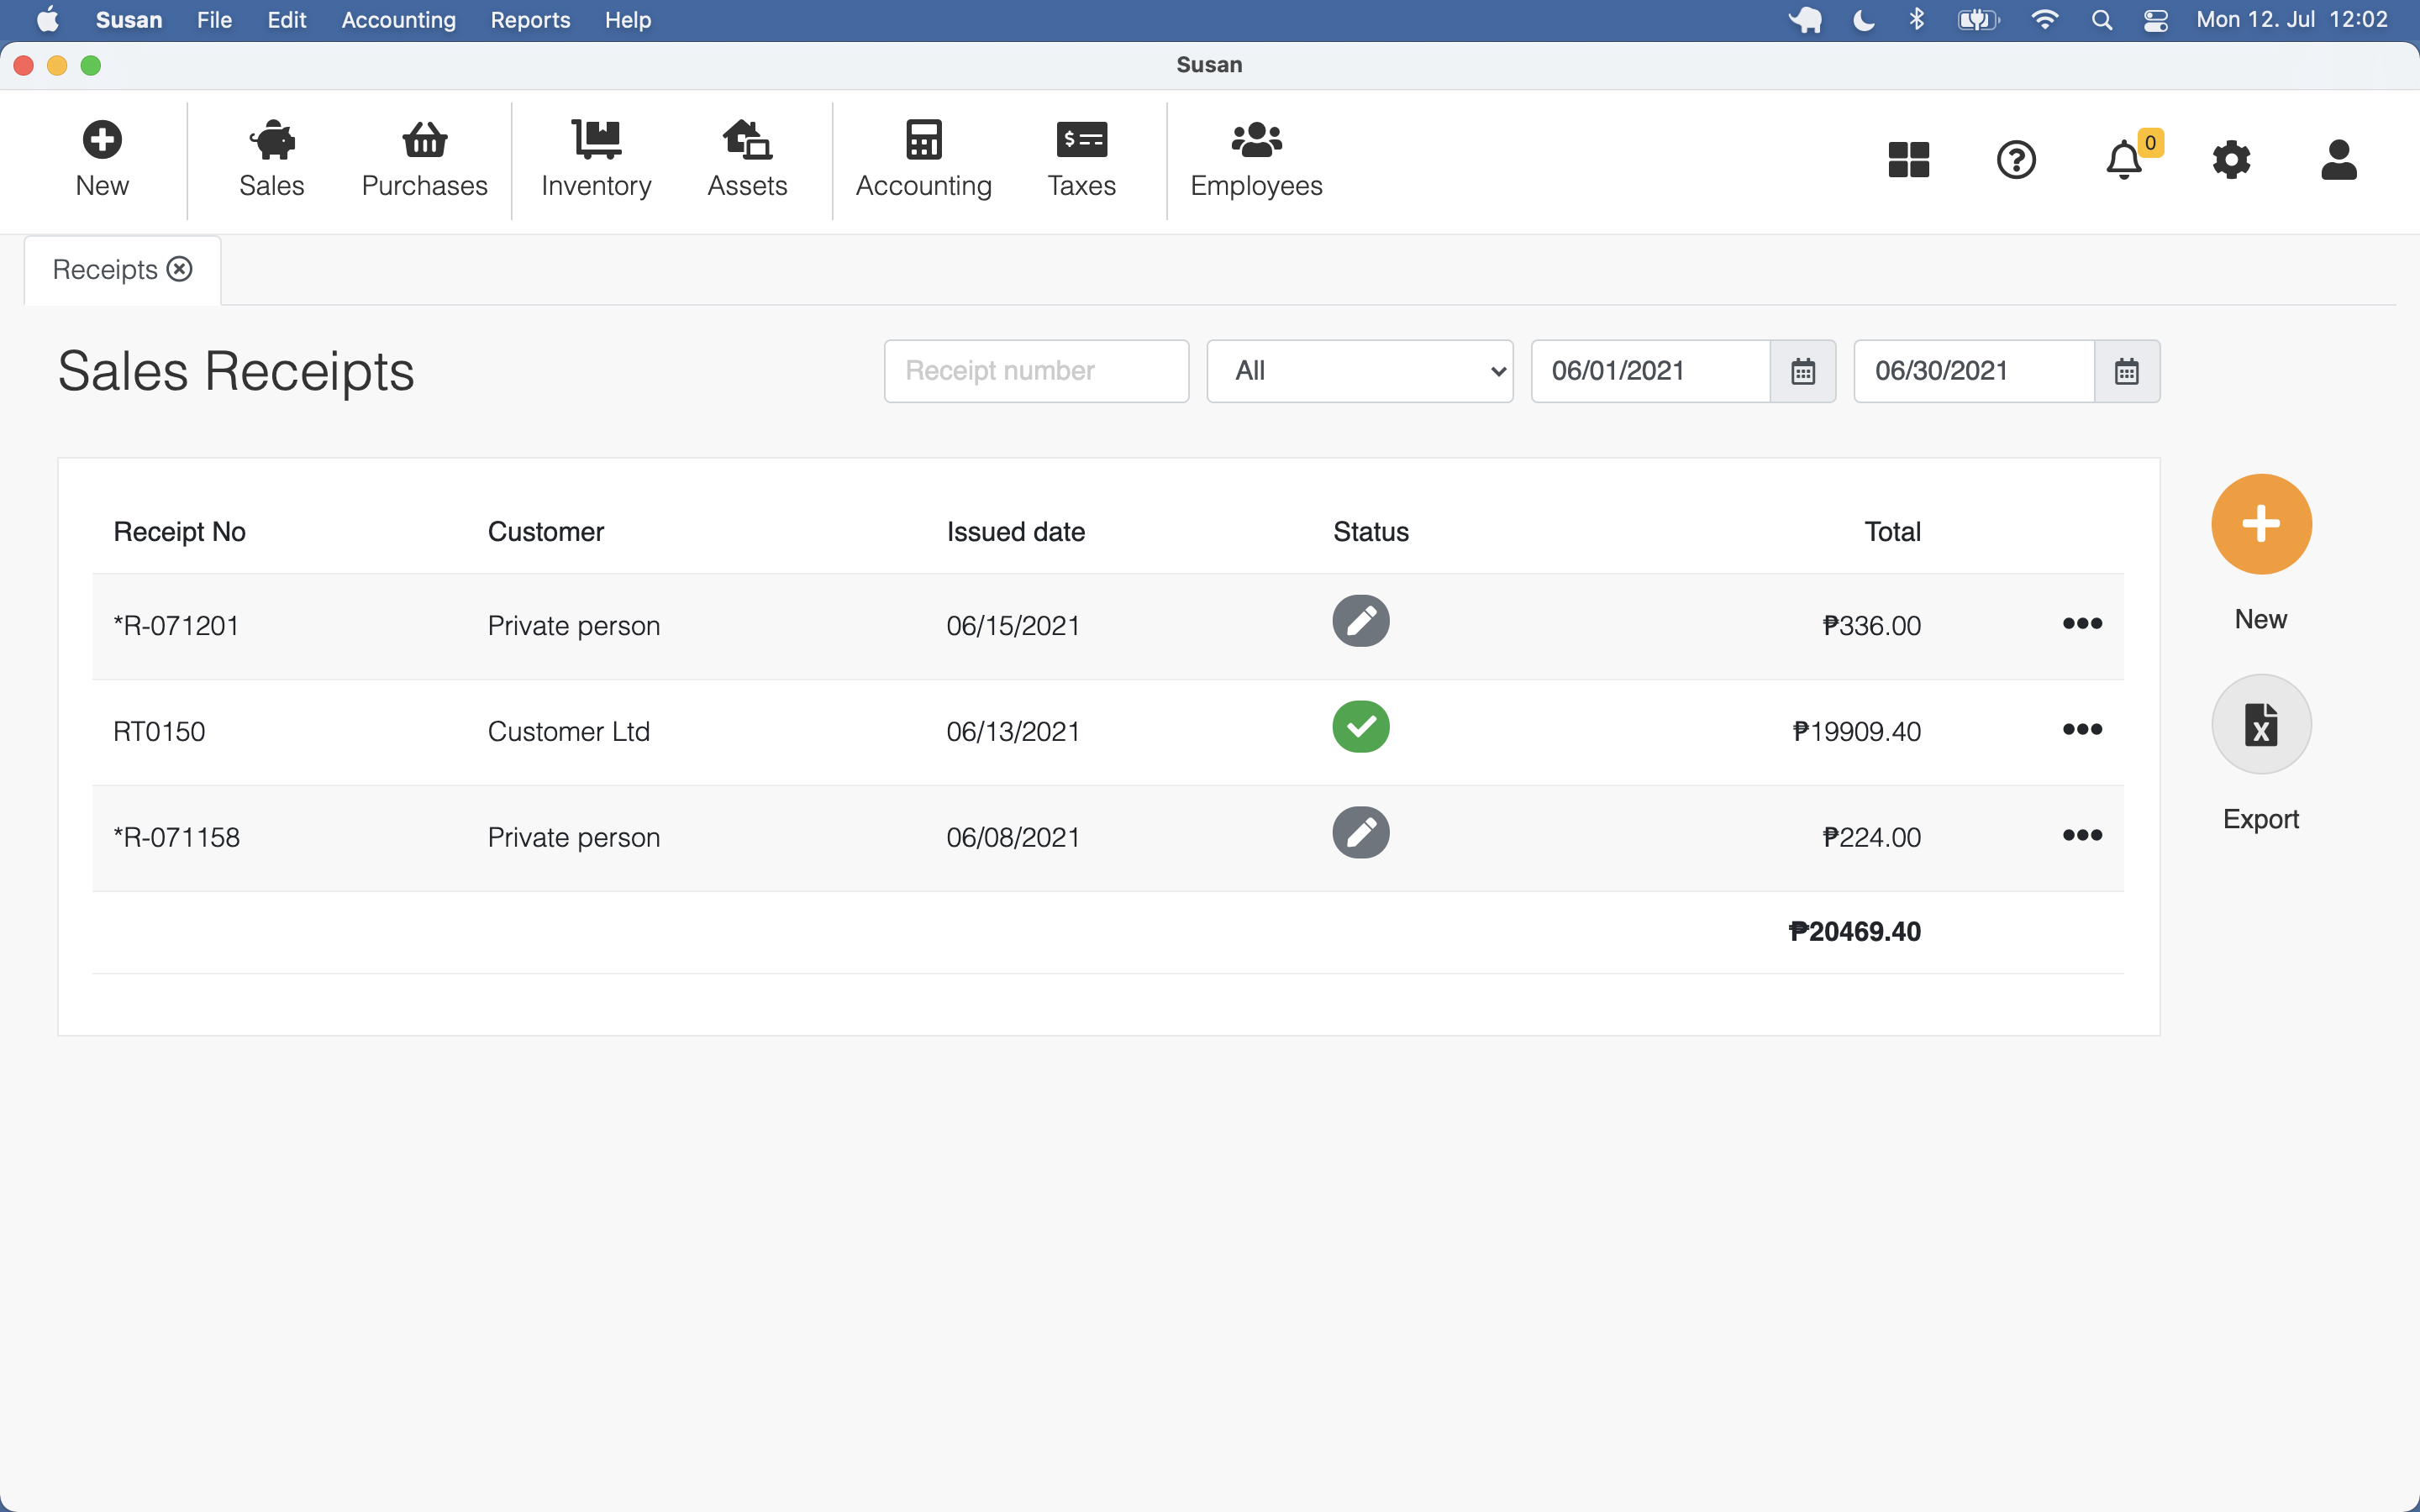
Receipt
To review the list of invoices, navigate to Sales > Sales receipts. Once there, you’ll see a list view of all receipts.
Adding Receipt
To add a receipt, follow these steps:
- Open the receipts list
- Click New
- Fill the document
- Select payment method, payment date and insert the payment amount
- Click Save
Detailed information on receipt item can be found by clicking on the arrow icon at the end of the row
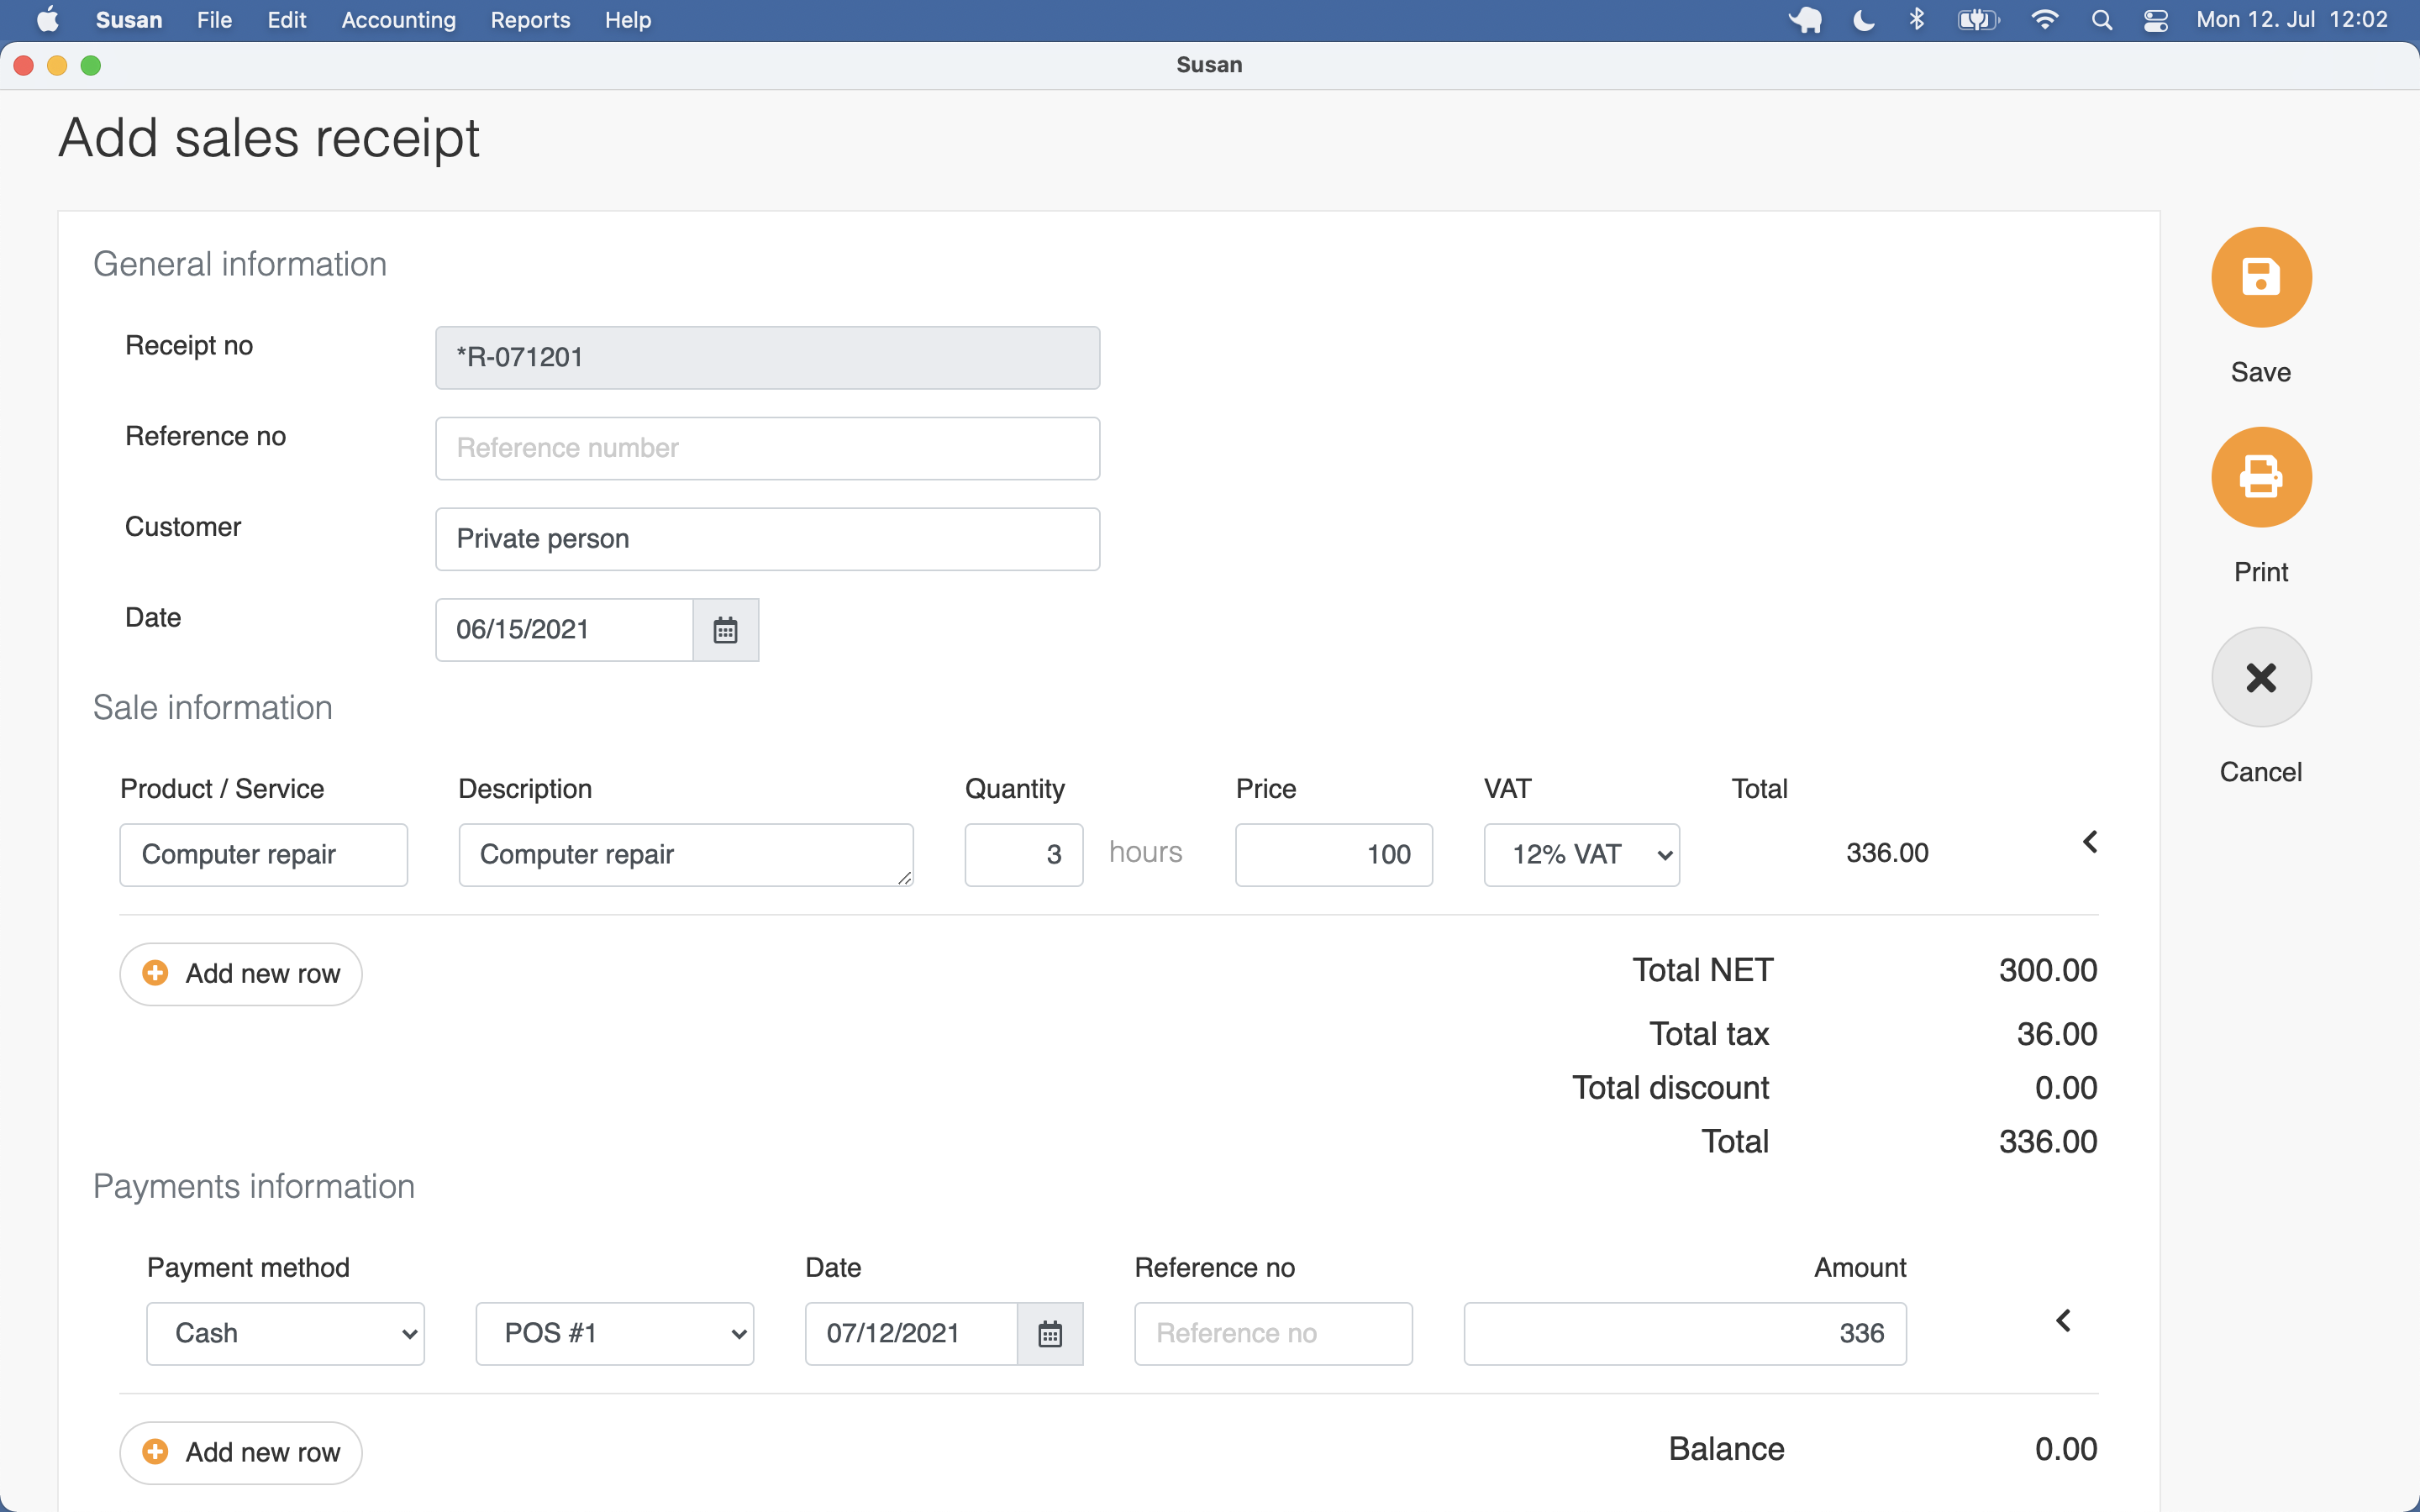
You can use multiple payment methods
The document receives a number generated by the system and will be saved in Draft status
You can change the receipt data unless it is not confirmed.
Confirming Receipt
To confirm the purchase invoice, follow these steps:
- Open the receipts list and click on the receipt
- Click Confirm
- Click Confirm in confirmation dialog
By confirming the document, it will get the status the Paid and a journal entry is be created
Receipt printing
Susan.one is not designed to work as a point of sales program, so there is no integration with receipt printers. Still, you can create a template to print receipts.
Read about document templates and settings.
Deleting Receipt
To delete the receipt, follow these steps:
- Open the receipts list and click on the receipt
- Click Delete
- Click Confirm in confirmation dialog